Back on Page 1 I mentioned my reasons for wanting to redesign this wall, both aesthetic and logistic. Now that that’s out of the way, we can get to work! Again, this is what my wall looked like as of the start of the project:

Below we have the wall, containers removed, in all its “glory.”

After clearing the LEGO off the shelves, it was time to clear the shelves off the brackets, the brackets off the uprights, and the uprights off the wall.
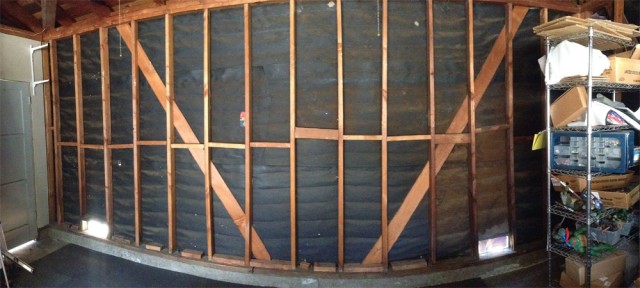
 I then removed the wood paneling, cleared out the nails, sanded down the high spots on the framing, marked the studs, and vacuumed out the wall from the several decades worth of settled dust.
After several trips to several hardware stores (no one store had all the supplies I needed), I arrived back home with a truck full of drywall, brackets, uprights, shelves, assorted hardware, and a much lighter wallet. I then measured, cut, and mounted the sheets of drywall to the framing.

Once the drywall was up, I measured out and mounted the uprights, marked and fitted the brackets at the right heights, and laid the shelves down to begin measuring the cuts I would need to make. I used more uprights to better support the weight of the containers on the shelves. To maximize the wall space vertically, I also added extensions to the uprights so I could get more shelving above where they used to end, which would also wrap around to the left wall above the door.

After the shelves were cut, placed and the sections were secured together with metal plates, I was ready for an initial test of the containers.

I was very happy with the result. It looked clean and consistent and with all the containers (somewhere around 300 Darice and Plano containers currently in use, and about 100 unused spares) there was still plenty of space for my collection to grow; a minimum of seventeen linear feet unused.
As you probably saw in the first picture, I like displaying toys (other than LEGO!) and other models. Previously I had about thirteen square feet of display space on the top shelf allotted for my other toys. With the two 12″ wraparound shelves I added above what was previously the top shelf, I more than tripled the amount of space allotted for toys to about forty-four square feet. I don’t think I’ll be utilizing every square inch for toys, but it’s nice to know I have the extra shelf space for whatever the future brings.
TL;DR: Wall good. Bruce happy.
Continue to Page 3 in which we’ll put on the finishing touches and call it a day!