Back on Page 1 I mentioned my reasons for wanting to redesign this wall and on Page 2 we tore down, rebuilt and tested the wall.
The last step was to earthquake proof the wall. Display toys were secured with strong double sided tape (some toys I’ll take down occasionally for my kids to play with, so they don’t need to be secured). Stack-On containers were bolted to the wall angled back like before; I’m still determining if there’s an additional security measure to take with these, such as a bungee net or elastic fabric, but I haven’t settled on a solution yet. Lastly, I had to drill out holes on the shelves to route bungee cord in front of the Darice and Plano containers. This is very similar to the method I use for my Sterilite containers on the left wall (not pictured in this post).
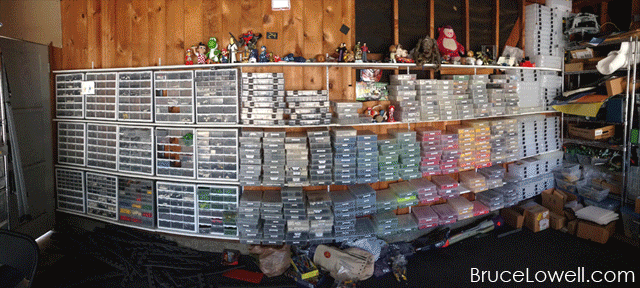
Below we have the completed wall, with the original wall to compare with.
Before:

After: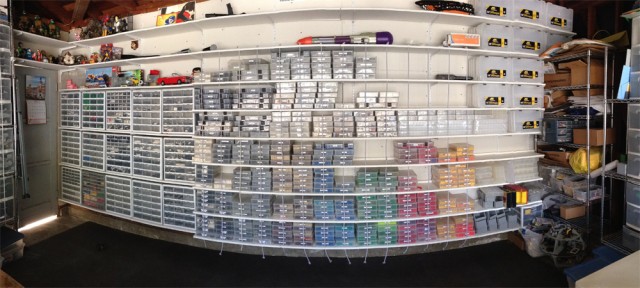
And because I’m all about the latest and greatest in technology, I made this cool (well, you decide) animated GIF of the wall’s progress:
After all is said and done, I’m really happy I was finally able to work on this wall, and even happier with the outcome. It’s going to take some time to really utilize its potential, but I’m up to the task!
Please let me know what you think! If there is enough interest, I’d be willing to do a write-up about the wall to the left, which I re-did last year, and the wall to the right, which I am still planning out (it’s currently a big mess of leftover and surplus LEGO, shipping supplies, books, and tools), as well as a more detailed write-up (with pictures!) of how I organize in each of the four bins mentioned.